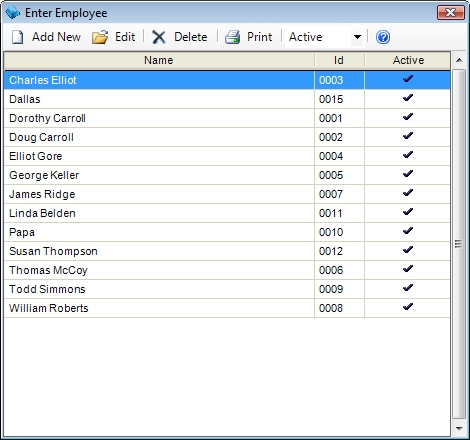
This screen is used to enter, edit and delete information about your employees and technicians. Throughout the software, we use the terms technicians, employees, dispatcher, clerk, and sales person interchangeably. Regardless of an employee’s title, they must be entered on this screen as a technician before they can be used in any of the previously listed fields.
When you create new employee or edit an existing one you will see name fields followed by a series of tabs. These areas, and their uses, are listed below.
Employee Name Fields
Use these fields to enter the technician's name. Enter what you commonly call the tech in the Dispatch Name field (now be nice). This will be used on the Electronic Dispatch Board. This can be helpful if you have two technicians with similar names.
For example: If a company had two technicians, Michael Johnson & Michael Dix, they could be given dispatch names of MJ & Dix, or Michael & Mike.
Active
A technician who is not marked active will no longer appear in reports, drop-downs, or search screens. The technician record can still be accessed by searching for inactive employees. This allows you to keep your technician list from becoming overloaded with technicians no longer employed by your company, and yet enables you to still review dispatches and invoices done in the past by employees who no longer work for the company.
General
Technicians are entering into the system by using a 4-digit number. To enter a new employee, type their employee number in this field. If this number is assigned to another technician, their information will be displayed. To recall an existing employee for editing or deleting, either enter their number, or click on the magnifying glass to display a list of technicians. Double-click on the desired technician, and their information will be displayed.
Tech Pager Number
If this employee will be using the Xora integration, enter their full Nextel phone number with area code here instead (do NOT use the direct connect number).
Email Address
Enter the email address for this technician here. This address will be used to send pages to the technician if ESC is set to send
Skill Level
This is a 3-character alphanumeric field, and it’s used in Dispatch Entry to be able to search for technicians with a certain skill level.
Default Department
Select the primary department this technician works in. When an invoice is created for the dispatches they completed, this department will be used. If multiple technicians worked on the same dispatch - the invoice will inherit the department of the last technician that was modified on the dispatch or the default sales department if that is blank.
Member of Crew
See Crew Dispatching for a full description of this feature and how to set it up.
Route Optimize Source
This selection determines the technician's starting point for the day. It can be set to the technician's address(from the Address Information tab of the Enter Technicians screen; see below) or the company's physical address (from the Company Information tab of the System Setup screen). This information is used when the Optimize Routes or Optimize Dispatch into Route functions are used in conjunction with the Mapping feature of ESC.
Commission Code
Use this field to select the commission code that will be used for this employee.
QuickBooks Sales Rep
If you are integrating with QuickBooks, use this field to associate the employee with a sales rep in QuickBooks. You can get a full list of these codes from within QuickBooks by going to Lists | Customer & Vendor Profile Lists | Sales Rep List.
If this employee is then entered into the Salesperson field on an ESC invoice, the associated sales rep will appear on the invoice in QuickBooks after it has been posted.
Overhead Reporting
This section is used to enter the technicians base pay rate and labor burden for reporting purposes. This will have no effect on your accounting.
Pay Rate
The pay rate should be entered as the number of dollars the technician earns per hour. In order for Labor Cost to be properly displayed on the Sales Invoicing screen and Sales Reports, a pay rate must be entered here.
Overhead Value
An overhead field is provided so that accurate labor costing can be tracked. Overhead is entered as either a fixed dollar amount per hour or a percentage of the technician’s pay rate per hour. These figures are used to calculate the Labor Cost field on the Sales Invoicing screen. The Labor Cost is also printed on Sales Reports.
Example: if a technician’s Pay Rate is $10, and if five (5) hours are entered for that tech on the Sales Invoicing screen, then the Labor Cost will show on the screen and Sales Reports as $50. The chargeable labor to the customer is created by a Special Billing Code, such as "LAB". If 50 is entered for the Overhead for Sales Reporting as a percentage, then another 50% of the Pay Rate times the hours is added to the Labor Cost – in this case, 50% of $50 would be $25. The $25 overhead is added to the original $50 Labor Cost to display a total Labor Cost of $75.
The Overhead for Sales Reporting can also be entered as dollars per hour. If we enter 10 as the Overhead for Sales Reporting as Dollars, then another $10 per hour will be added to the Labor Cost. In this example, the tech has five (5) hours times $10 which equals $50. Another $10 per hour is added, to that would be another $50 added to the original $50 of Labor Cost, giving us a total of $100 for the Labor Cost of the invoice.
Note: When creating a sales invoice in the Sales Invoicing screen, if a dispatch is referenced in the Dispatch field, and if a technician is displayed with hours but with no Labor Cost in the lower left-hand corner of the screen, then there is no Pay Rate set for this tech on this screen.
Note: It is important to note that the Labor Cost is strictly used on sales reports within the ESC software. This information is not transferred to any accounting software. Please look at your accounting software to get true labor costs.
Now that technicians have been entered into ESC, Electronic Dispatch Boards may be configured to include these technicians. Click here for information on setting up Electronic Dispatch Boards.
Schedule
This section is used to set the technician's normal working hours. This information will then appear as a light green shading covering the times specified when viewing the technician using the week or month views on the Electronic Dispatch Board (EDB). This information is what ESC uses on the Month View of the EDB to set the work meters.
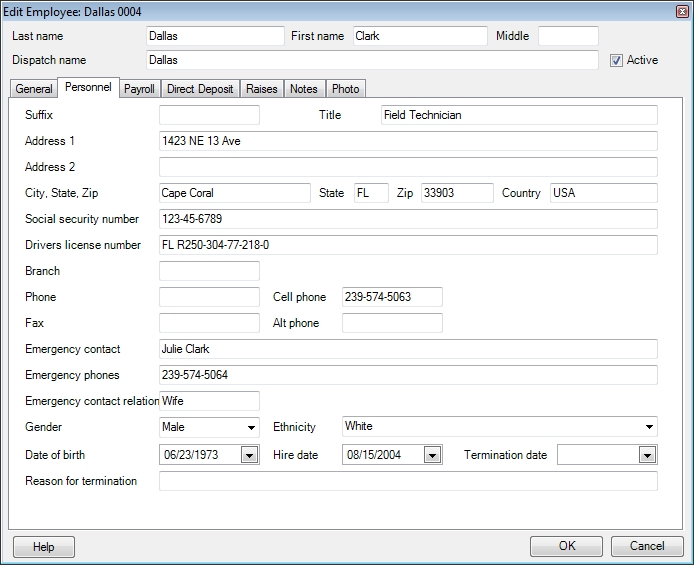
Personnel
Most of the data on this tab is strictly for your information. The following areas, however, should be filled out for the following reasons:
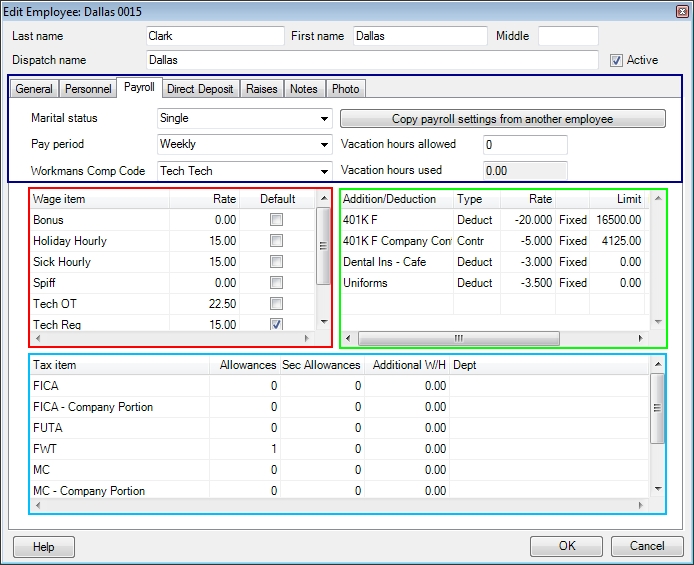
Payroll
In the Payroll tab of the Enter Employees screen is where you’ll enter all of the employee’s information that would affect their paycheck. This screen is broken down into 4 major sections:
Section 1 is the basic information that determines whether the employee is married or not, at what interval they get paid (we currently support weekly, bi-weekly, semi-monthly monthly and yearly) and the default workman’s comp code. You’ll see the workman’s comp code you select here being defaulted in Time Entry, Timesheet, Write Manual Check and when you’re processing payroll checks for that employee. You’ll also be able to click the “Copy payroll settings from another employee” to use someone else as the template for this new employee you’re entering.
Section 2 allows you to select the wage items (and the default wage item) that will be accessible when creating a payroll check for the employee and putting in time entries. If a wage item is not selected for the employee then it will not be available to use when making out a paycheck or entering time.
Section 3 gives you the ability to set all the default additions\deductions that will appear when processing payroll or writing a manual check. They function similar to the wage items where you will only be able to select additions\deductions that are tied to the employee in this screen. Also, deductions must be entered as a negative value if using a flat dollar amount however you can use a positive amount if they are set up as a percentage.
Section 4 relates to the tax items that apply to this employee. Simply select which taxes apply to this employee, set the allowances, secondary allowances and additional withholding for each tax and when you run payroll these default taxes will be there.
Note: This screen is only available if you have ESC Accounting with Payroll enabled.
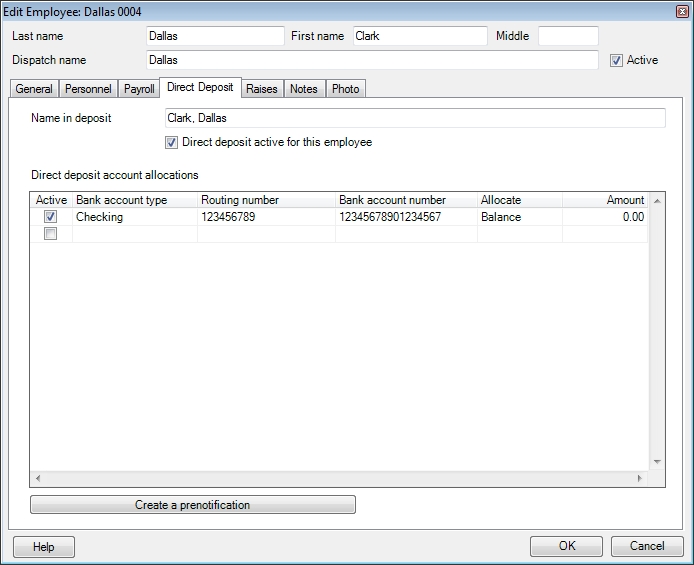
Direct Deposit
This screen allows you to set up the employee's direct deposit in ESC. The direct deposit can span multiple bank accounts if desired. Use the Allocate field to determine how much of the paycheck will be going to each account.
Once everything is set up you can click the Create a prenotification button that creates the text file we send. You can send that to your bank so they will know the ESC syntax.
Note: This screen is only available if you have ESC Accounting with Payroll enabled.
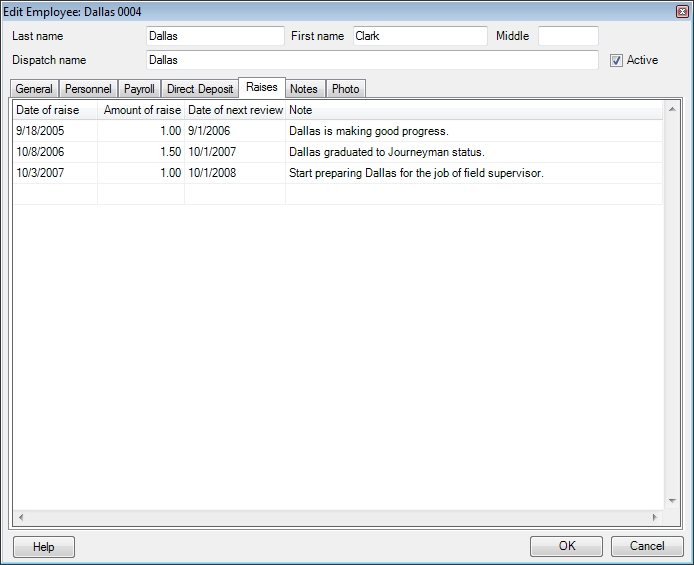
Raises
Use this screen to keep track of when the employee received raises, the amount of the raises and the date of their next review. This is used for informational purposes only.
Notes
This screen can be used to enter notes about the employee. This is for informational purposes only. It has no effect on other parts of the software.
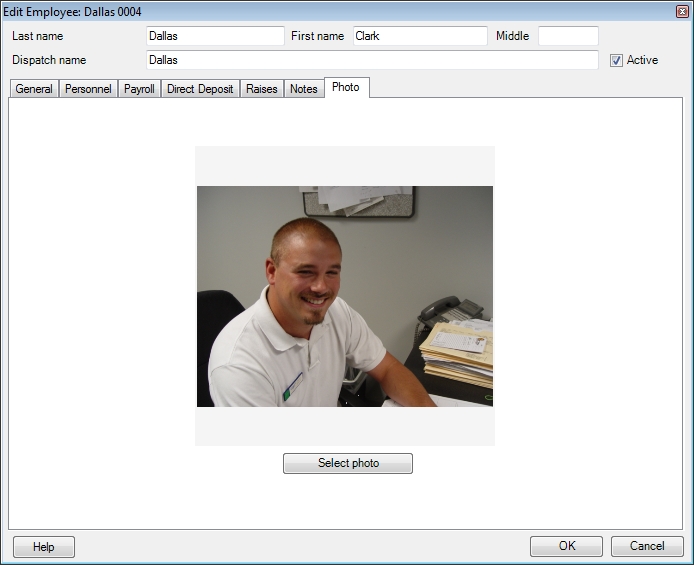
Photo
This screen can be used to enter a picture of the employee. This is for informational purposes only. It has no effect on other parts of the software.
 The General tab
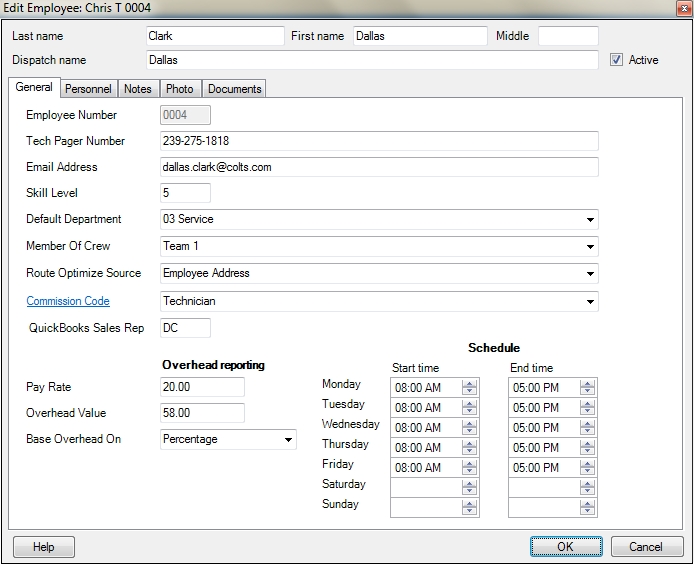

 How do I get to this screen?