 Add New Invoice Options
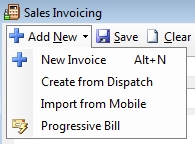
ESC gives you several ways to create invoices. Some of these options import information from other areas of the program to save you time and keep you from entering data twice. See each of the methods below for more details.
Creating a new blank invoice
To create a new blank invoice, click the Add New button or press Alt+A while on the Sales Invoicing screen. Select the customer you are invoicing by typing their name in the customer field or use the pull down to search for them. This will automatically fill in the customer's Bill To and Ship To information. You can change the Bill To address to any of the selected customer's locations by selecting them in the special Bill To drop down menu. You can change the Ship To address by either selecting a different location in the Location field or by manually entering the address in the Ship To field.
Creating an invoice from a dispatch
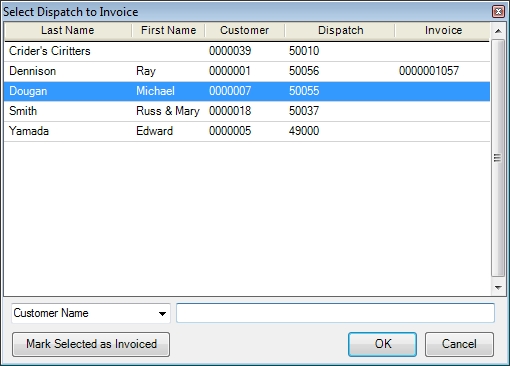
To create an invoice for a completed dispatch, click the down arrow on the Add New button and select Create from Dispatch. This will display a list of all dispatches that have a billable Dispatch Type and have been completed within the last 30 days but are not yet invoiced in ESC.
Select the dispatch you want to invoice and the information associated with the dispatch and the customer it is for will automatically be filled in. You can refine the search by the customer's name if needed.
Note: To ensure all the technician's hours and parts come over to the invoice properly, you should only create invoices for completed dispatches.
Note: To help keep this list manageable, dispatches that have not been invoiced in 30 days will not be shown in this search. These dispatches can still be invoiced by recalling the dispatch on the Dispatch Entry screen and selecting Activities | Create an Invoice. You can search for Uninvoiced Dispatches using the Status filter on the Dispatch Schedule to find these dispatches easily.
It is also possible to clear items off this list that you do not intend on invoicing by selecting them and choosing Mark Selected as Invoiced.
Importing a mobile invoice
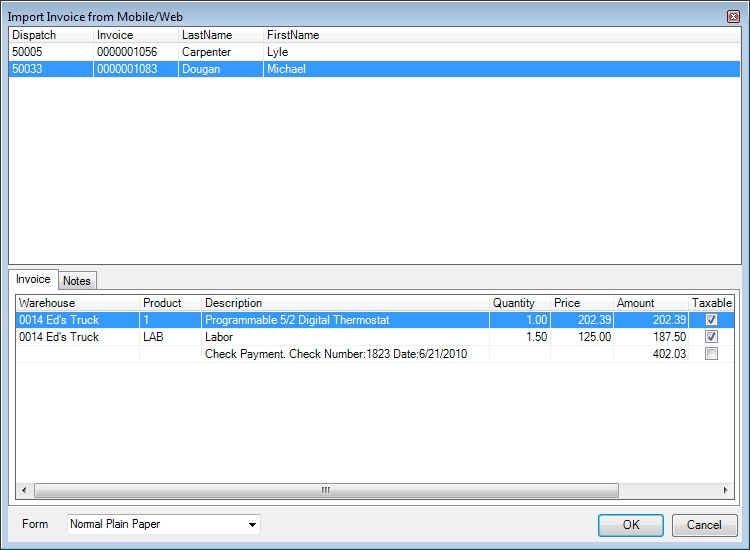
Click the down arrow on the Add New button and select Import from Mobile to recall an invoice that was created in the field using the ESC Mobile Client. When the search screen appears, click the customer you want to invoice. You can view the items and notes that will be imported at the bottom part of the screen to ensure you are importing the correct invoice.
Click OK and all the information associated with the invoice and related dispatch and customer will be imported automatically. At this point you can change any of the settings you want before saving the invoice.
Creating a progressive bill
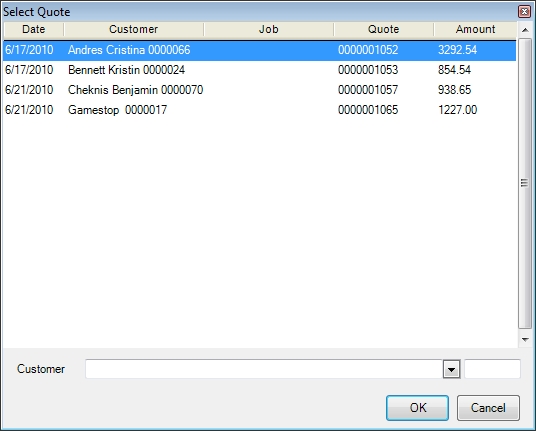
To create a progressive bill, or job draw, click the down arrow on the Add New button and select Progressive Bill. This will display a search screen showing all the Pending and Accepted quotes that are not yet 100% billed.
Select the desired quote to bring up the progressive billing screen. See the Progressive Billing topic for more details on this subject.
Next Step - The Invoice Tab
 How do I get to this screen?