This utility allows you to import data into ESC. This can be a fantastic way to bring in inventory items from a new supplier, add customers from a company you just acquired and more.
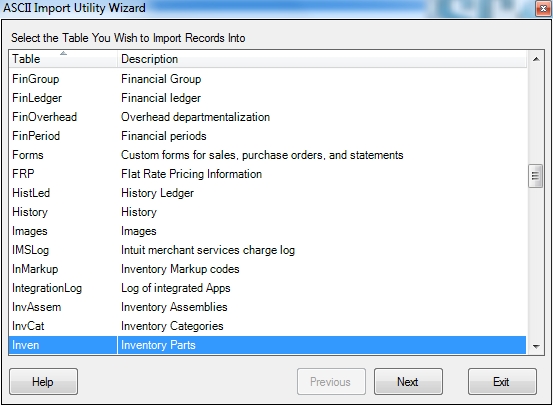
In order to import data into ESC you must first create a template file that shows ESC what you want to import and where you want it to go. This can be done by clicking the Add New button on this screen. You will then be presented with a list of all the tables in ESC. Select the table you want to modify and click Next.
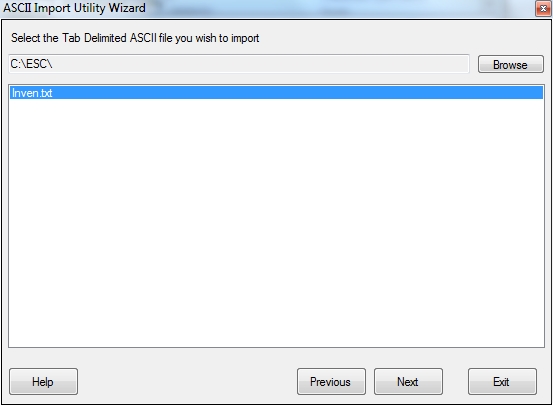
Now select the location of the data you want to import into ESC. The data needs to be in a comma-delimited or tab-delimited format with a .TXT extension. Each line in the data needs to be a separate item and there can be no blank lines or headers between items. Click the Browse button to go to the desired directory then select the file from the box below and click Next.
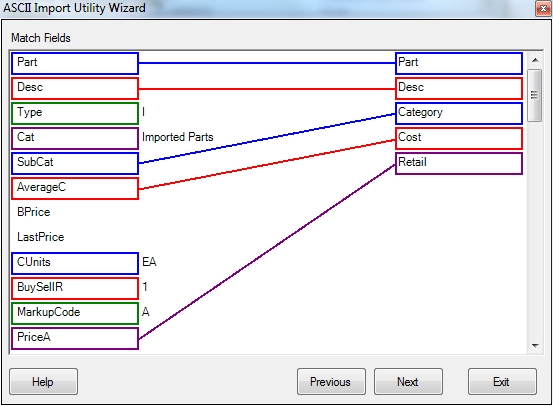
Now you will need to match the fields in the ESC table on the left-hand side with the columns in the .txt file you are importing on the right-hand side. To do this, click and hold the field name on the left and drag it to the corresponding column on the right. If you want to set a value for a field manually, instead of linking it to something in the table you are importing, just click the field on the left once and enter the desired value. To break any link or set value, click and hold the link on the left and drag it to the middle of the screen before releasing the mouse button.
Click here to download the Data Conversion Bible which will tell you which fields are required and what types of data should be entered in them for the most frequently imported tables. You will need Excel to open this file.
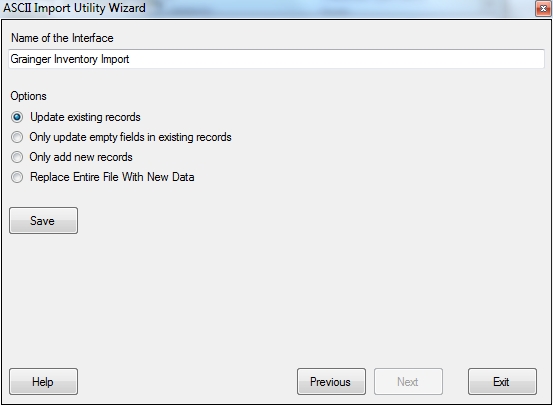
Click Next once this is configured the way you want to go to the final screen in the import wizard. Give the import template a name and select how the data will be imported. Here is a quick breakdown of your options:
After you have given the template a name and an import type, click the Save button to exit the template editor.
Important Note: Before you go any further, please get everyone out of ESC. Then make a backup of your database by exiting this screen and selecting File | Backup Your Data. This will ensure that you have recent data to restore if things don't import correctly.
It is now time to test your template. To do this, select it from the list and click the Test button. This will bring up table you selected in your template and show you how the data will import. Click the Next button to look at several records and ensure the data looks perfect. Click Exit when you are done looking.

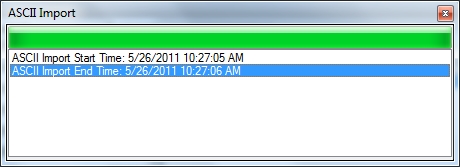
At this point you can either click the Edit button to tweak the template, if needed, or click Import to begin the process. During the import you will see a progress bar letting you see the progress of the import. Any errors encountered during the import will be shown in the box below. If an error occurs the record it occurred on will not be imported, so pay close attention to these as you will probably want to restore the backup you just made and then edit the import template to fix the issue.
Even if you don't receive any errors during the import, take a good look at the resulting data in ESC before letting users back into the system. That way if the results are unexpected you can restore the backup and try again.
Helpful hints:
 ASCII Import Utility
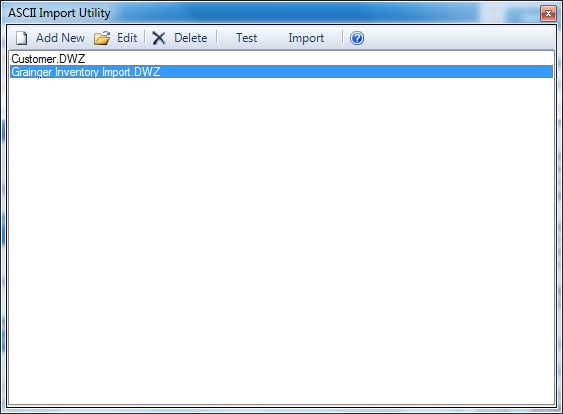
 Related Topics
 How do I get to this screen?