This menu-item is used to automatically create monthly invoices. Invoices will only be created for service agreements that have an entry in the current month on the Invoice tab of the Enter Service Agreements screen. Agreement invoices should be posted at least once a month. There is no harm in posting more frequently as it is not possible to create duplicate invoices for the same month.
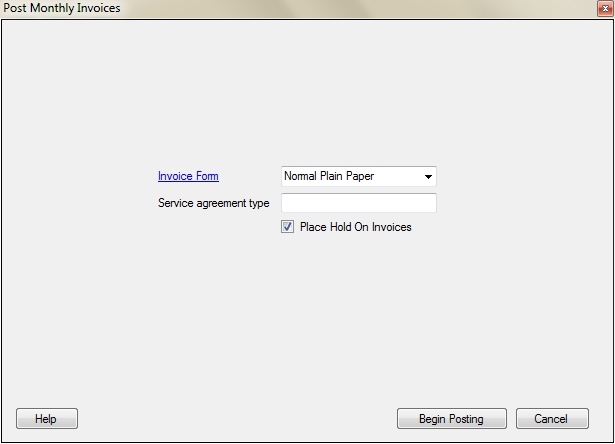
To create the invoices, select an invoice form that will be used when the dispatch is printed or emailed. You can prevent the invoices from posting to QuickBooks, Peachtree or your receivables records by selecting Place Hold On Invoices. This can benefit you because the customer does not actually owe you that money yet; they simply have the option to renew. Therefore, you do not want your accounts receivable information to reflect an invoice that the customer is under no obligation to pay. Should the customer elect to pay the renewal invoice, it will be removed from the Hold status and be sent to the customer's receivable balance. To change the status on the invoice, pull up the invoice in the Sales Invoicing screen, and either Tender a payment (which removes the On Hold status), or remove the checkmark in the On Hold field in the lower left-hand corner, which will allow that invoice to post normally to your accounting package, or appear in the Enter Payments screen and aging reports if you are using ESC Accounting.
Click on the Begin Posting button to create the invoices.
This will create an invoice for each agreement that has an entry on the invoice tab of the Enter Service Agreements screen for the month you are currently logged into. You can elect to post these one by one, skipping any you don't want to post, or just use the Post All button to create all the scheduled invoices at once.
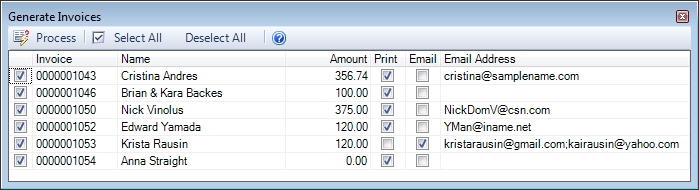
At the end of the posting process a screen will appear to show you all the invoices that were created. Click Process to either print or email the invoices to the customer.
Note: If a customer has an email address with an email task setting of Billing or Allon the Customer Entry screen, it will be set to email the invoice by default. This can be changed by clicking the print box, if desired.
 The Posting screen
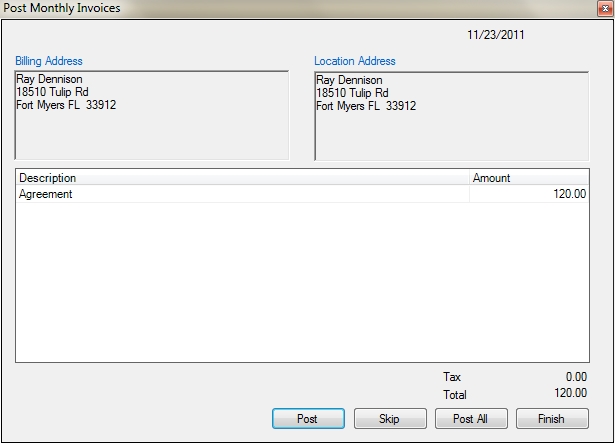
 How do I get to this screen?
 Related Topics