 Sales Invoicing
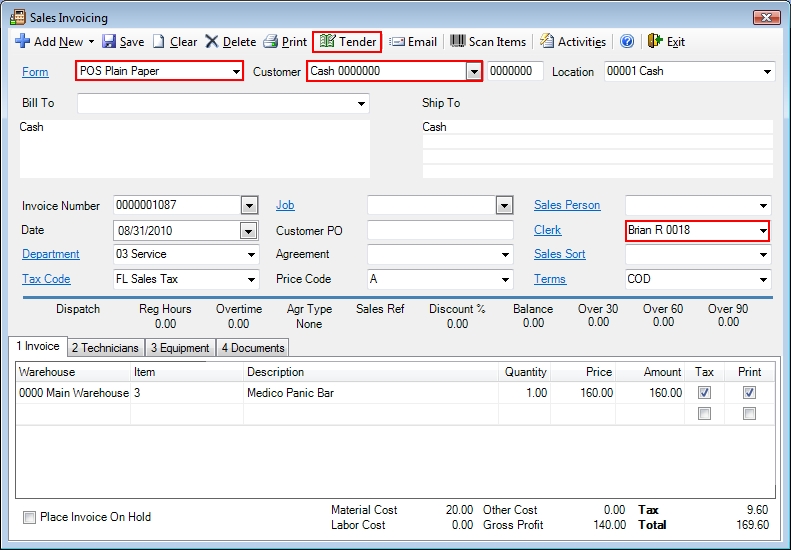
To create a Point of Sale (POS) invoice in ESC, go to the Sales Invoicing screen (F9) and click the Add New button. Immediately change the form type to one of the POS forms. As long as you keep this screen open, ESC will remember that form type so if this computer is your front register, you should only have to do this one a day.
When you change the form type ESC will automatically set the invoice number and select the Cash customer on the invoice. You can change this to a real customer by selecting one from your database if you wish, but this is generally unnecessary unless the customer is putting the invoice on their account instead of paying for it now.
Before you start entering item on the invoice you first need to select your name in the Clerk field to show who created the invoice. This information will be remembered from invoice to invoice as long as the screen is not closed.
In the body of the invoice you can enter parts, billing codes and history codes just like a regular invoice. If you have a bar code scanner, however, you can use it instead by clicking the Scan Items button in the toolbar. Doing this will cause each item you scan to show up on the invoice with a quantity of 1. Scan the same bar code multiple times to change the quantity. Click Close when you're done scanning.
Once you have finished entering items in the body of the invoice, click the Tender button to accept the customer's payment. Enter the payment methods and click the button on the toolbar to select whether you will print a full invoice, a receipt or just save it without printing anything. Click Save when you're done.
Please look at our knowledgebase article for more information on setting up point of sale and the receipt printers and cash registers that work with ESC.
 How do I get to this screen?
 Related Topics