Vendors and vendor information is entered here. Before a vendor appears in any vendor drop-down list in the software, it must be set up here first.
Select Vendor
To recall an existing vendor start typing their name here. To create a new vendor click on the Add New button at the top of the screen instead.
Company or Last Name
This field is used to enter or show the vendor's company or last name.
First Name
This field is used to enter or show the vendor's first name. Leave this blank if the company’s name was entered in the previous field.
Vendor Number
This field is used to show the vendor's record number. It will be automatically created if the Add New button is selected, otherwise it will remain uneditable.
Billing Address
Enter the vendor’s billing address here. Use the Address2 field to enter information such as suite / building numbers, PO Boxes, etc. Enter the vendor’s zip code in the City field. If this zip code has been used before, the City and State for that zip code will be displayed in these fields.
Phone Numbers
Enter your vendor’s phone numbers here. Phone numbers should be entered without any brackets or dashes.
Terms
Select the default terms offered by the vendor. Example: Net 30, 2/10 Net 30, COD. If the desired terms are not shown in the pull-down list, click on the Terms button to the left of this field to configure them. These terms will be automatically assigned to all purchase orders created for this vendor.
Company Account Number
Enter your company’s account number with the currently selected vendor in this field. This field is for reference only. This will be the account number that your vendor assigns to you. If you would call them and they would ask for your account number, this would be the number that they have assigned to you.
Discount Percentage
Enter your default discount for this vendor. This field is for reference only.
Email Address
This field is used to enter or show the email address associated with the main billing address.
Web Address
This field is used to enter or show the vendor's web site.
Note: The next two fields only appear if ESC Accounting is enabled.
Tax ID
Use this field to enter the vendor's Federal Tax ID number. This is only necessary if you will be printing a 1099 form out for the vendor.
Print 1099
Select this box to specify that this vendor should receive a 1099 form at the end of the year.
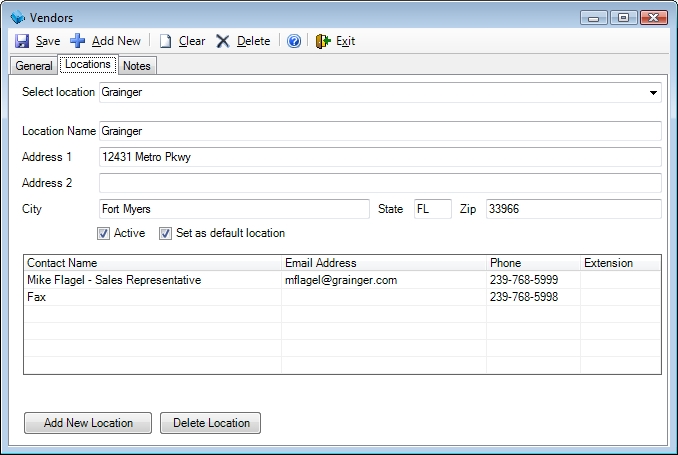
Select Location
To recall an existing location, start typing the location name here or select it from the list. To create a new location click the Add New Location button instead. You can also delete a location by selecting it and then clicking the delete location button.
Note: It is not possible to delete all the locations. A new location will be created based on the vendor's billing address if you try.
Location Name
This field is used to assign or show the name of the vendor's location.
Location Address
Use these fields to enter the address of this location.
Active
ESC will not allow you to delete locations that are in use on active purchase orders. Remove the check mark from this field to hide the location on all other screens.
Set as Default Location
Check this box on the location you want to select automatically on other screens (such as Enter Purchase Orders). Only one location can be set as the default.
Contact Grid
This area allows you to assign a name, email address, phone number and extension for up to six contacts at each location. The names and phone numbers will appear when the vendor is used on a purchase order so you will know exactly who to call when you need to order anything. You will be able to choose between any of the email addresses when you send a purchase order to the vendor via email.
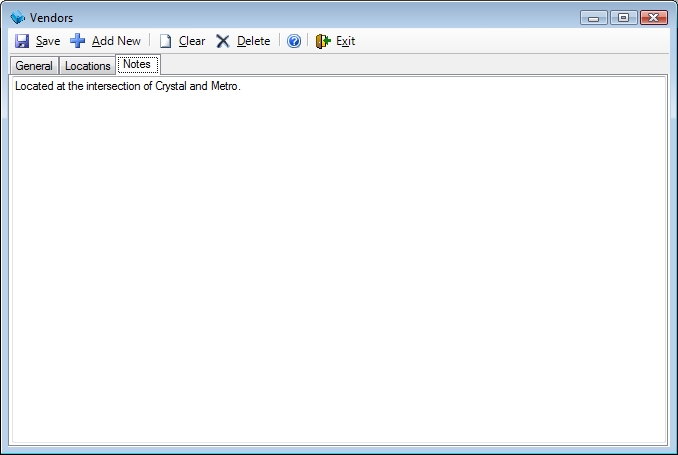
This tab can be used to enter notes about the vendor. It is not location specific.
 The General tab
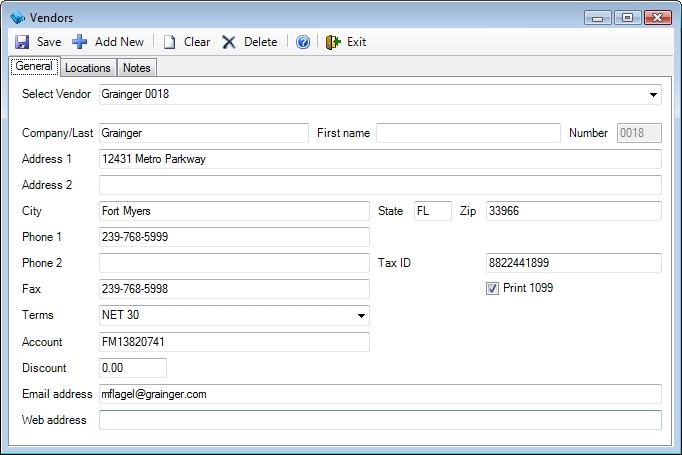
 How do I get to this screen?
 See Also